Introduction
Thank you for purchasing ProductPress WordPress Theme . If you have any question that is beyond the scope of this documentation, please feel free to create a support ticket using Our Support Email.
We offer limited support for theme customers. We only provide support for our themes and their core features. We cannot guarantee that our themes will work properly with all the third party plugins and server environments. If you plan on adding numerous plugins to this theme then please note, we cannot facilitate support for any conflicts that may arise with this theme’s default functionality. The ProductPress WordPress theme is presented as it is.
Updating WordPress Theme
If this is a theme update and you want to apply it on your existing installation then delete the previously uploaded theme and upload the new one from Theme Uploader in WordPress.
If you like this theme, then support us by rating it with 5 stars.
Theme Installation
In start you must have a working version of WordPress already installed. For information in regard to installing the WordPress CMS, please see the WordPress Codex Installing WordPress
Once you have a working version of WordPress, you need to
- Download the theme files (which contain both the theme and local documentation).
- Extract the downloaded zip file in your computer.
- Now open the
01- Themefolder and there is a theme zip files inside it, calledproductpress.zip. This is the installable zip file which you need to upload and activate in your WordPress website.
01- Theme you find productpress.zip file which is the theme file you need to upload in your WordPress.Step 1: Install Theme Via WordPress Dashboard
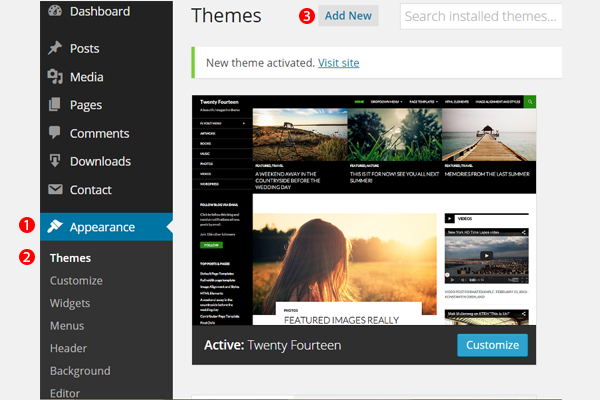
- Go to ‘Appearance > Themes’ section
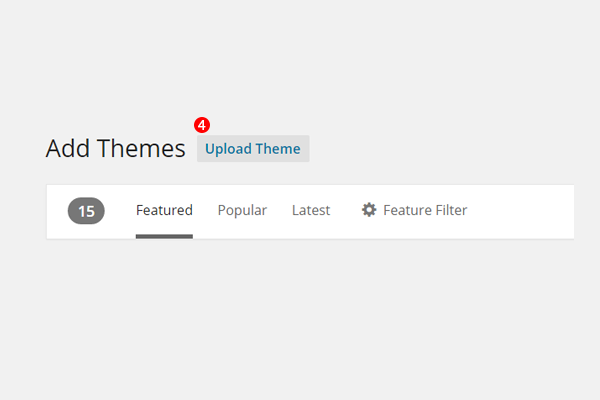
- Click ‘Add New’ and select the ‘Upload Theme’ option
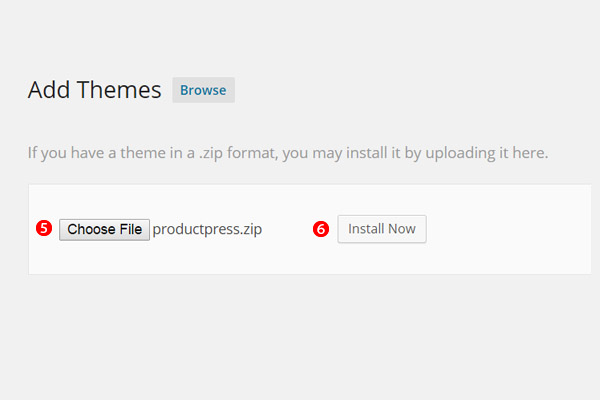
- Choose the productpress.zip file and click ‘Install Now’
- Once the theme is uploaded you need to activate it.

If you face any problem during upload through dashboard, please upload the theme using FTP as guided below.
Step 1(Alternative): Install Theme Via FTP
- Access your hosting server using an FTP client like FileZilla
- Go to the ‘wp-content/themes’ folder of your WordPress installation
- Extract the productpress.zip file and put the productpress folder in ‘wp-content/themes/’ folder
- Go to ‘WordPress Dashboard > Appearance > Themes’ section to activate the theme
Plugin Installation & Activation
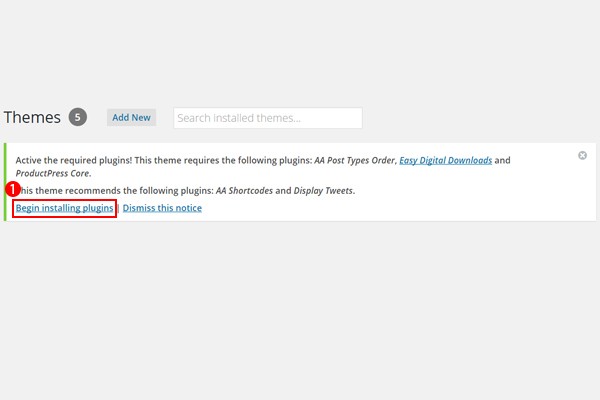
Once you have uploaded & activated ProductPress, you will next configure some of the basic settings. It involves the “installation” & “activation”of some of the recommended plugins which are important for ProductPress to run properly. A dialog box appears from where you will click “Begin installing plugin”.
Here is the list of plugins which are recommend by ProductPress. So, first select all these plugins and then click “Apply” to “Install” these via the drop down menu for the “Bulk Actions”.
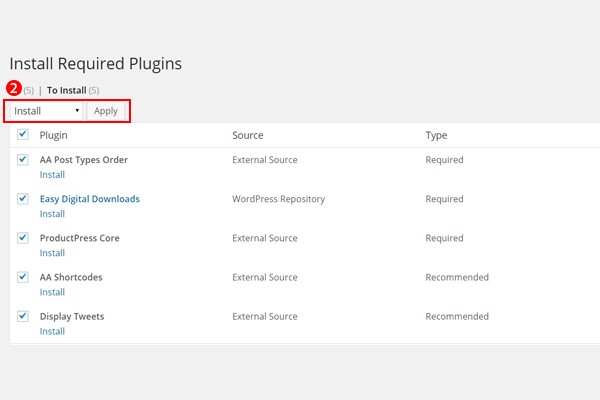
After installation we will return to the plugin installer and from here we will click “Apply” to “Activate” the plugins via the drop down menu for the “Bulk Actions”.

After activation you may get to see welcome messages by the activated plugins e.g. Easy Digital Downloads. So, don’t get confused with these.
Next Step is to Import Demo Contents.
Import Demo Contents
You can quickly set up your theme via importing the XML contents of our demo site, follow the steps below:
Step 1
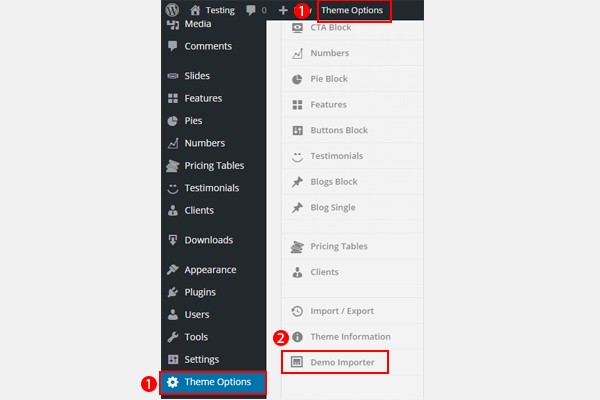
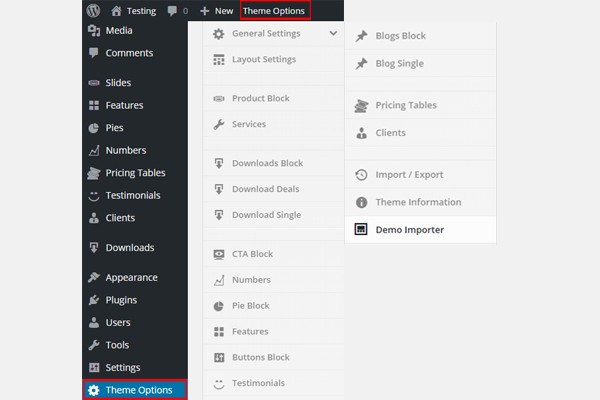
- Click the “Theme Options” section from the side or the top menu
- Then scroll down the page and click “Demo Importer”
Step 2
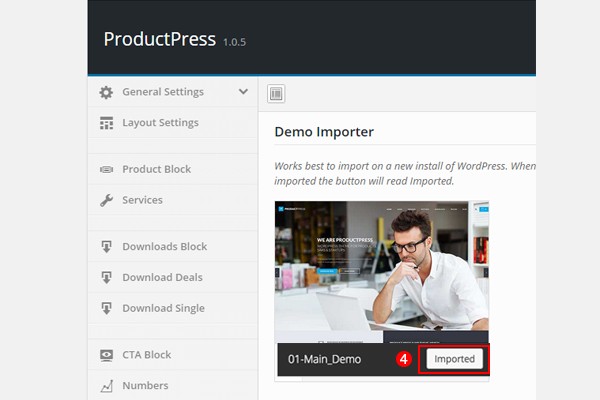
- Various demos will be listed here
- Choose your demo and click “Import Demo“

Step 3
It will take a few minutes to install and upload all the content. Once done, the Import Demo button will convert to Imported. It will look like this.
Set Footer Header Menu
At this point if you take a look at your website you will find it is somewhat messy on the front-end. Your header and footer will be out of order. So, the next step is the configuration of header & footer menus.
Step 1: Configuring Footer Menu
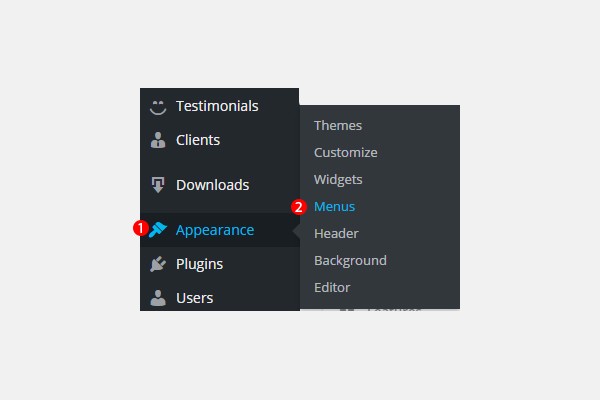
- Go to Appearance > Menus
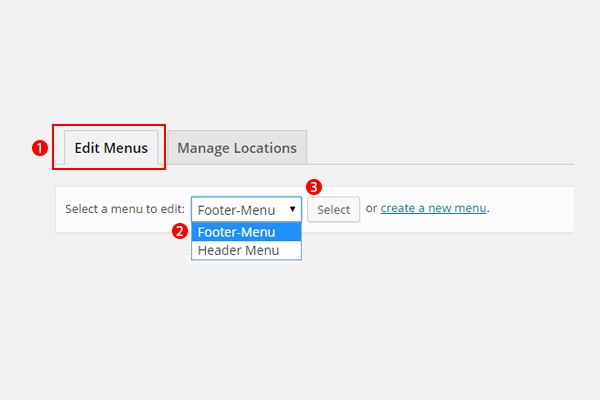
- Here you will be within the Edit Menus tab
- Choose the menu which you want to edit from the drop down list
- Right now I’m configuring the Footer-Menu so, I will choose it
- Then I’ll click Select
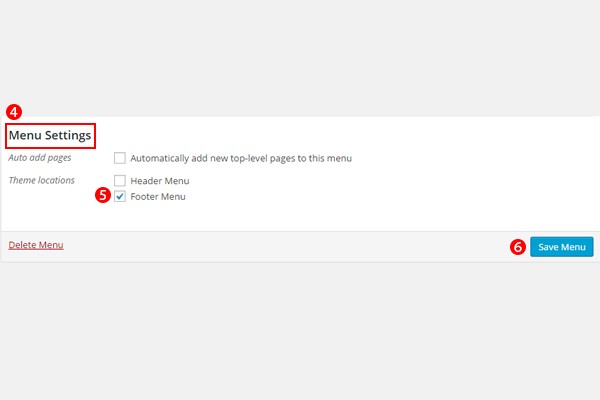
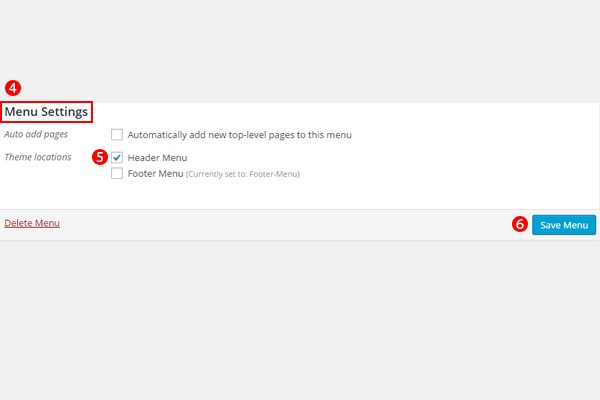
- Next scroll down the page and you’ll find Menu Settings
- Below it there are certain checkboxes
- Enable the Footer Menu
- In the end click Save Menu button
- This way your footer gets configured
Step 2: Configuring Header Menu
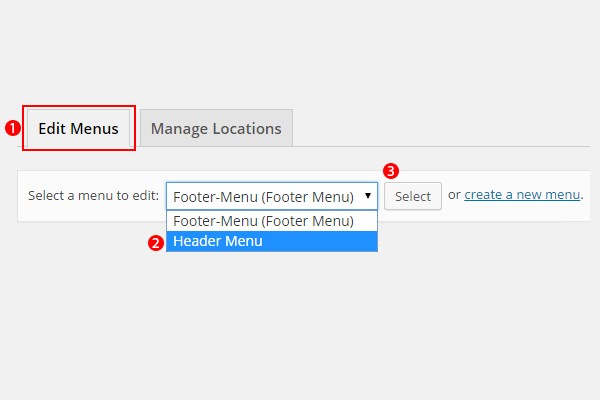
- Once again go to the Edit Menus tab
- Now I will choose Header-Menu from the drop down list
- Then I’ll click Select
- Again scroll down the page to the Menu Settings
- This time enable the Header Menu checkbox
- Next click Save Menu button
- Now your header gets configured
Now preview your website on the front-end and your header-footer menus are configured.
Configuration of Display Tweets Plugin
If you recall the basic setup part of this documentation then right after theme activation we installed and activated some of the recommended plugins. Out of these, one plugin which was in the list was the Display Tweets plugin. This plugin helps to display some of the latest tweets widget in the footer of ProductPress. So, let’s configure it.
- Install the Display Tweets Plugin plugin
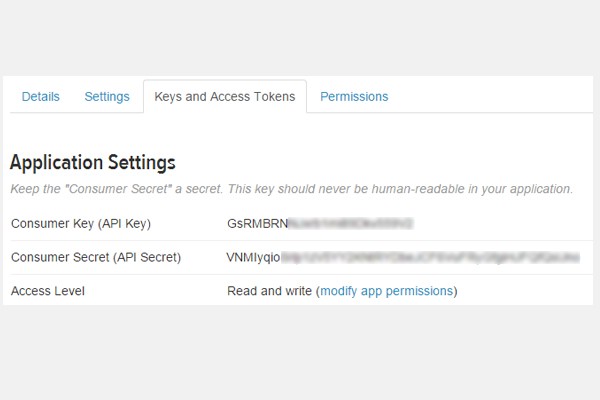
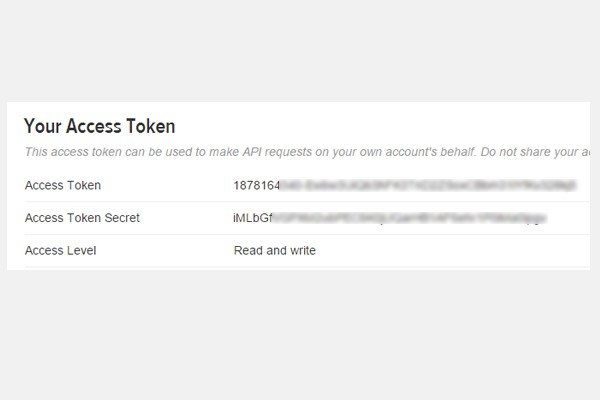
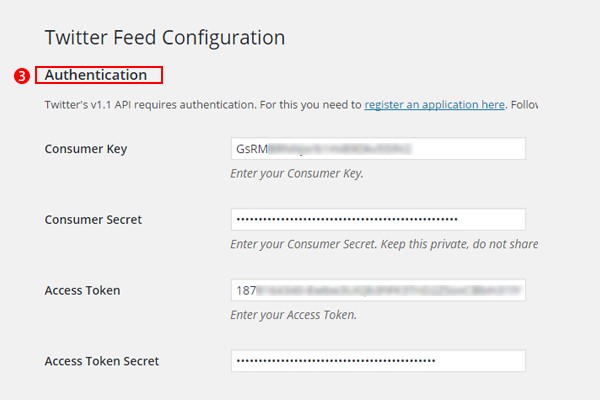
- Next, you’ll need the Twitter App’s consumer key, consumer secret, access token and access token secret for twitter authentication
- To get all these keys, register a new twitter app from the following url
- After registering app and generating access token you will have api keys and access token as displayed below
- After installing and activating the plugin, go to Settings > Twitter Feed
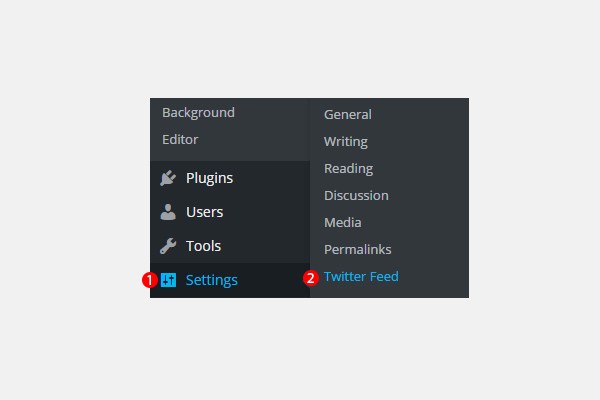
- Enter the keys that you’ve just generated from the twitter app for Authentication
- Next scroll down to Configuration and do its settings. Here is a special mention of the Count settings which defines the number of tweets which will be displayed in the widget. I’ve set it to ‘1’ you can change it accordingly
- Once you are done click Save Settings button

This is how our Display Tweets plugin is configured.
Theme Options Block
In ProductPress, we have introduced a complete section for “Theme Options” from where you are going to configure all the parts of this theme. In other words you can say that this part is the heart of ProductPress. For your ease and convenience you can find this section not only in the side bar but also in the top menu.
Here you will find various blocks which can be used to configure various parts of the theme. These blocks are for the:
- General Settings
- Layout Settings
- Product Block
- Services
- Downloads Block
- Download Deals
- Download Single
- CTA Block
- Numbers
- Pie Block
- Features
- Buttons Block
- Testimonials
- Blogs Block
- Blog Single
- Pricing Tables
- Clients
- Import/Export
- Theme Information
- Demo Importer
We will be explaining each of these blocks in detail.
General Settings Block
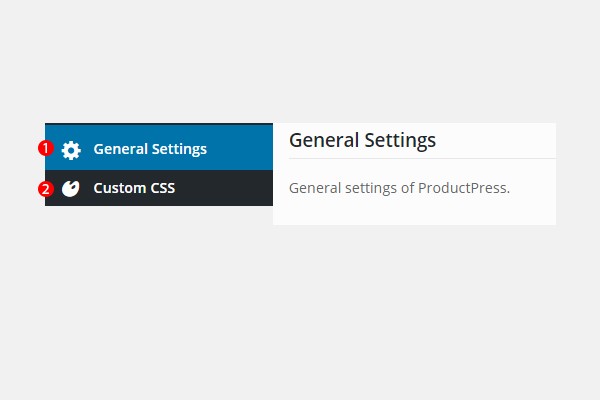
In the “Theme Options” section the first block allows you to configure some of the “General Settings” of ProductPress. When you click it, a new sub-section appears right below it. This is for the “Custom CSS”.
Step 1: Start
Follow this path: Theme Options > General Settings > Custom CSS.
Step 2: General Settings
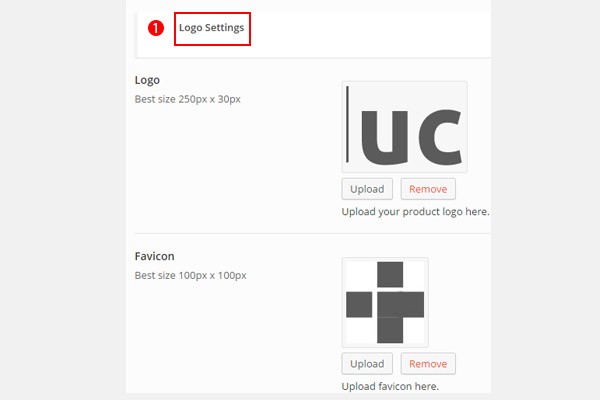
Talking about the General Settings, first you will upload the Logo and the Favicon of your product.
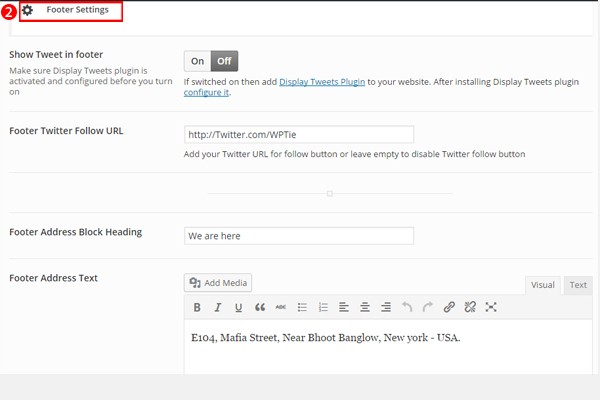
There are some Footer Settings which we’re going to configure next. First of all you will find a button for Show Tweet in Footer. This button relates to the Display Tweets plugin which has been installed to show latest tweets widget in the footer. Initially it is OFF. Once it is turn ON the widget gets displayed.
Next you will enter your Footer Twitter Follow URL followed by the Footer Address Block Heading and Footer Address Text.
Scroll down the page and you’ll find some more settings like Footer Email Address & Footer Phone Number. These help to add your contact details. Next you’ll add the subscription information like Footer Subscribe Heading Block, Footer Subscribe Feedburner URI or ID and finally the Footer Subscribe Text.

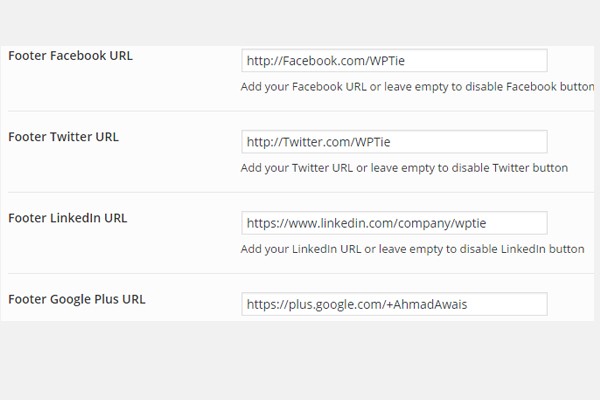
Next we will configure some of the Social Accounts’ information which is displayed in the footer. Add your Footer Facebook URL, Footer Twitter URL, Footer LinkedIn URL & Footer Google Plus URL.
In the last upload the Footer Logo and add the Footer Copyright Text.

Step 3: Custom CSS
This is the sub-section of the General Settings which allows you to paste your Custom CSS code in the space provided.

Once you’re done click the Save Changes button.
Layout Settings Block
Next block in the “Theme Options” is for the “Layout Settings” where we have introduced the ‘Drag n Drop’ technique to set the layout of your website with ProdutPress. This part is divided into sections like Enabled & Disabled blocks. Simply drag those blocks to “Enabled” which you want to include in your layout while keep the others in “Disabled”.
Step 1: Start
Follow this path: Theme Options > Layout Settings
Step 2: Enabled Block
Here is the screenshot of the Enabled block.

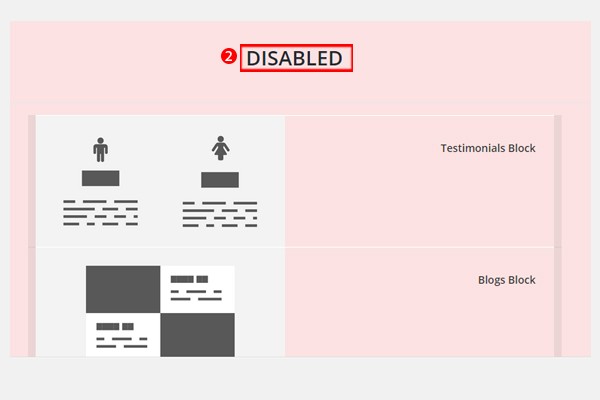
Step 3: Disabled Block
This is the Disabled block of ProductPress.
Product Block Settings
To configure the settings for your “Product Block” once again go to the section of “Theme Options” from the top menu. Your product gets displayed here. Product block introduces your product and hold key importance in your website.
Step 1: Start
Follow this path: Theme Options > Product Block.
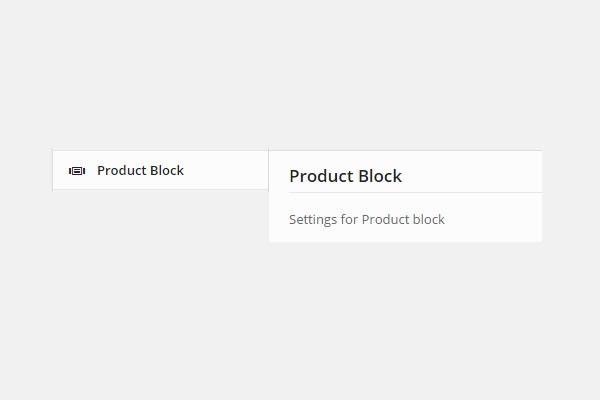
Step 2: Product Block
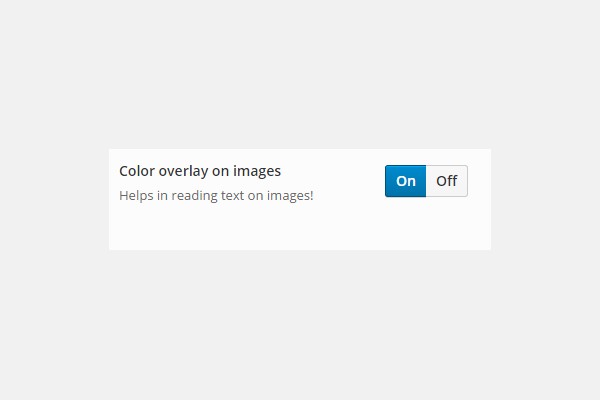
The only setting which you will configure over here is the Color overlay on images. This is controlled by a button which can be turned ON or OFF. As a default setting this button is kept ON however, you can set it the other way if you want.
Now we will add slides to this Product Block which we will see next.
Adding New Slides
In order to add new slides to the Product Block look at the side menu you will find a section for Slides. Follow this path: Slides > Add New.
In case, you do not find this menu then follow the steps below:
- Go to Theme Options > Layout Settings
- Scroll down the page and look at the Disabled blocks
- You will find Product Block placed here
- Simply drag n drop this block to the Enabled block
- Click Save Changes button
- The menu for Slides will appear right in the side menu of dashboard

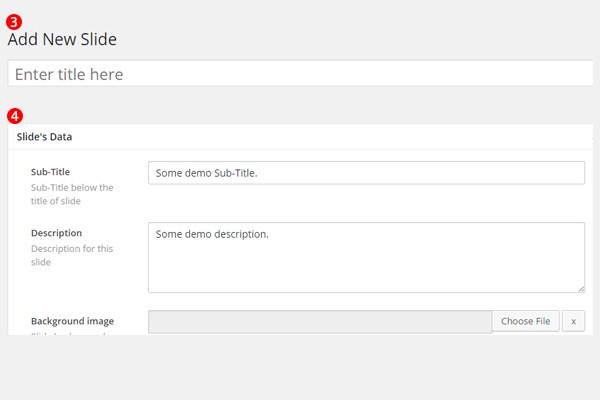
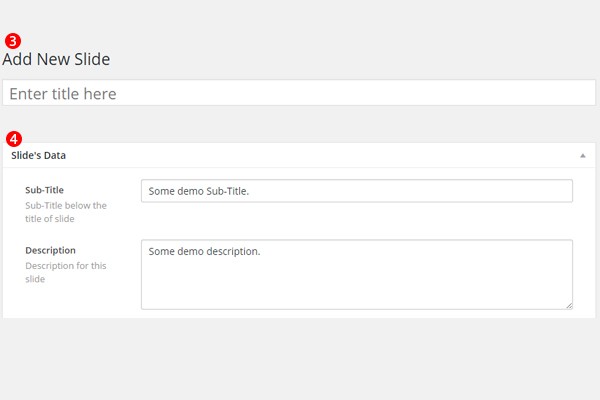
Here you will first add the Title of the slide. Then you will scroll down to the meta box of Slide’s Data, where you find several options. First add a suitable Sub-Title & Description. Then you can even add a Background image to your slide by clicking Choose File button.
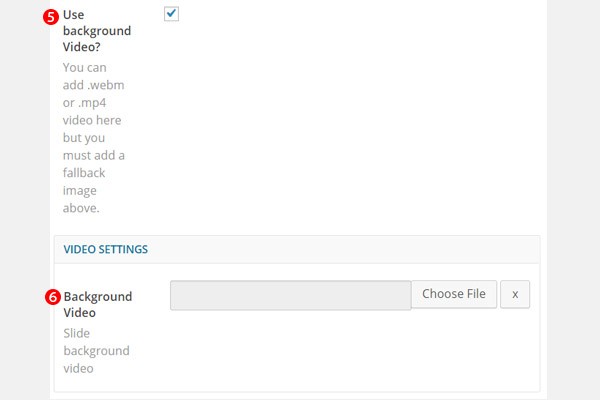
After configuring these options, you will come across three checkboxes which are initially disabled. The first checkbox allows to Use background Video. When you enable it, a new meta box appears right below it which is for the Video Settings. Here simply upload the Background Video by clicking the Choose File button and your job is done.
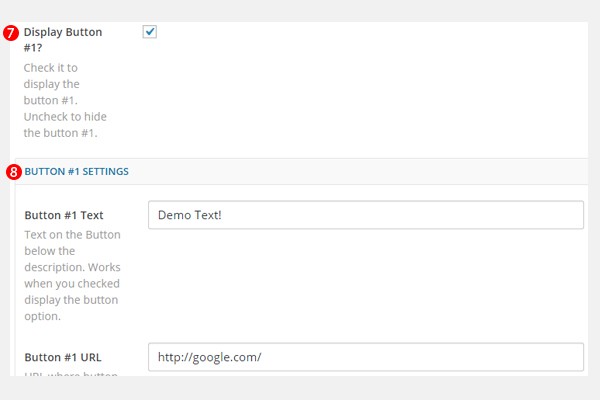
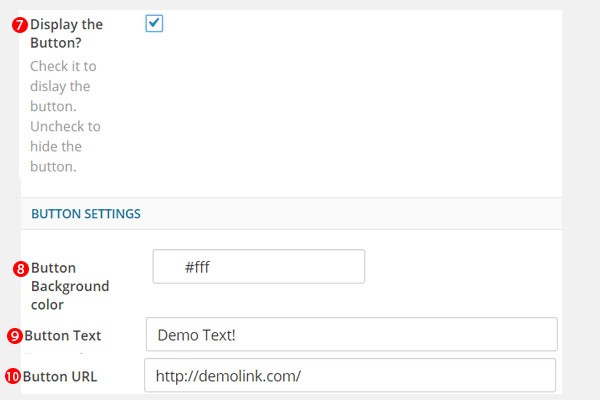
The next two checkboxes are for Display Button #1 & Display Button #2. Once again when you enable it a meta box for Button Settings appear. Here you will configure the options like Button Text & Button URL. The image shown below is for Display Button #1, you can configure the same for Display Button #2 as well.
Once you are through with these options click the Save Draft button and finally click Publish.
Anytime you want to view your all slides then follow: Slides > All Slides.
Re-Order
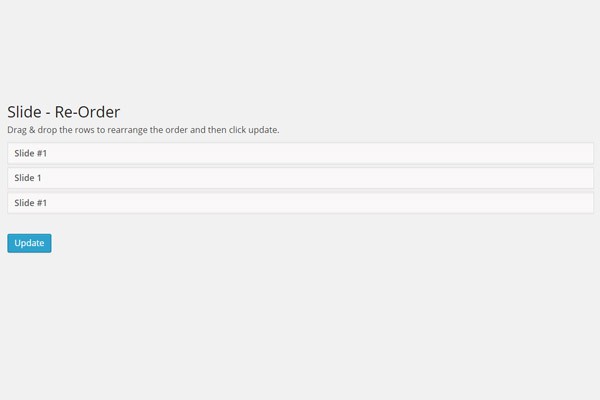
Now we have added an extended feature of Re-Order which allows to arrange the order of your created slides. Follow Slides > Re-Order.

When you’ll enter this section, you will find all your existing slides being listed one after the other. Simply drag & drop the slides and decide the order in which you want them to appear at the front-end. Once you are done click Update.
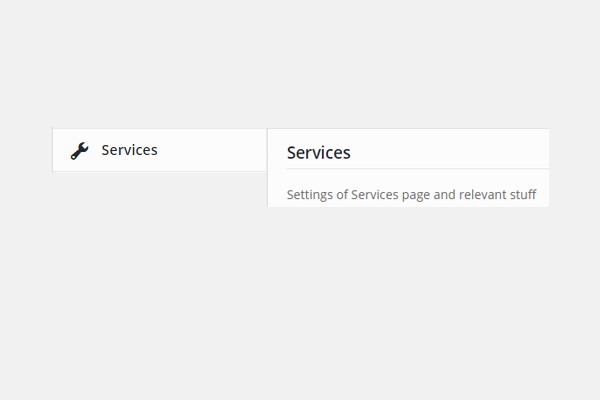
Services Block Settings
In the “Theme Options” section the next block allows you to configure some of the “Services” of ProductPress.
Step 1: Start
Follow this path: Theme Options > Services
Step 2: Services
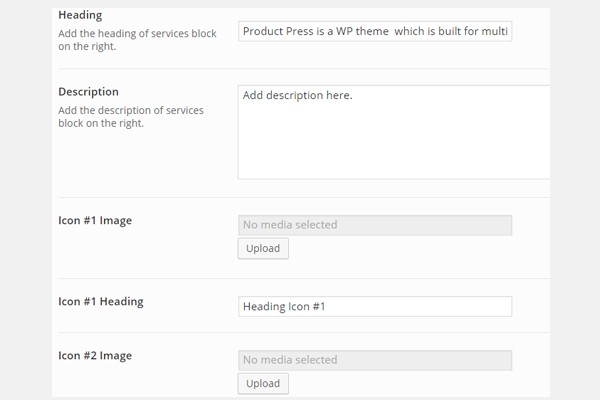
Now we will configure settings which you find over here. First of all add a suitable Heading & Description for your Services block. Both of these will appear towards the right.

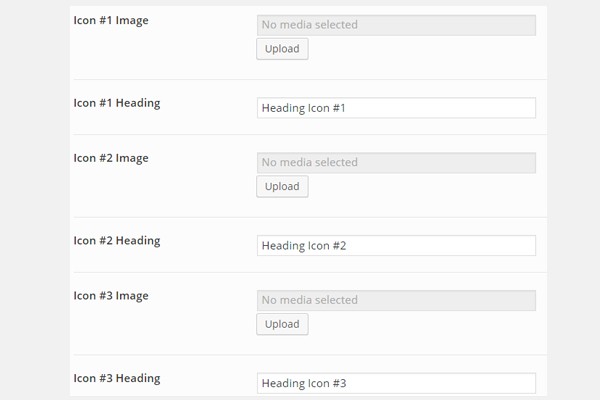
Next there are three different icons and for each of the icons you will upload an image and its suitable heading. So here goes the list:
- Icon #1 Image; Icon #1 Heading
- Icon #2 Image; Icon #2 Heading
- Icon #3 Image; Icon #3 Heading
Image is uploaded by clicking the Upload button while the Heading can be added via a text field provided.
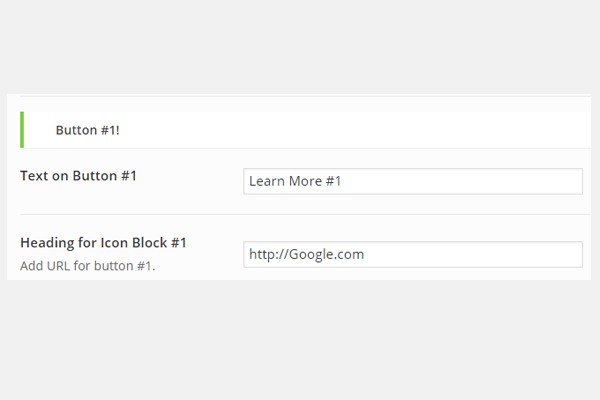
Scroll down the page and there comes a meta box for Button #1. Here fill out the fields for Text on Button #1 & Heading for Icon Block #1. In the heading field note that you will add a URL.
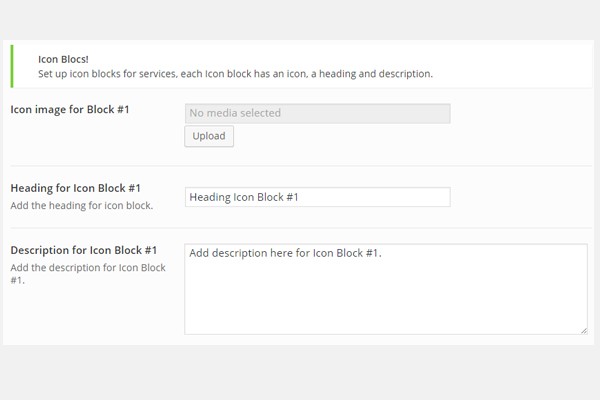
Next is a meta box for Icon Blocks. This contain quite a lot of settings. So, let’s take a look at them.
First few settings are for Icon Block #1. Add an Icon image for Block #1 followed by a Heading for Icon Block #1 and then Description for Icon Block #1.
Next you will configure the same set of settings for Icon Block #2 & Icon Block #3.

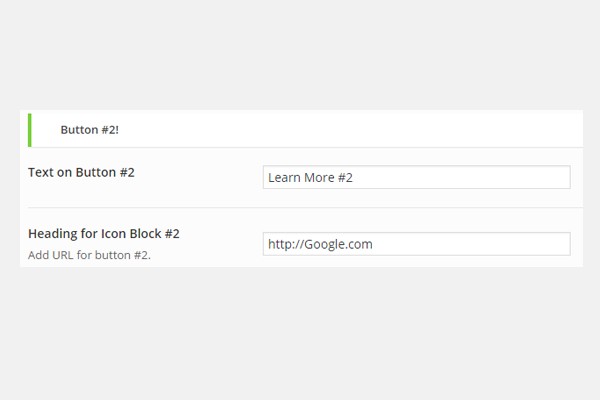
The last meta box in this block is for Block #2. Just add a Text on Button #2 & Heading for Icon Block #2.
Once you are done click the Save Changes button.
Downloads Block Setting
In ProductPress we have offered a separate section for the Download Blocks. You can find them in the “Theme Options” section.
Step 1: Start
Follow this path: Theme Options > Downloads Block

Step 2: Downloads Block
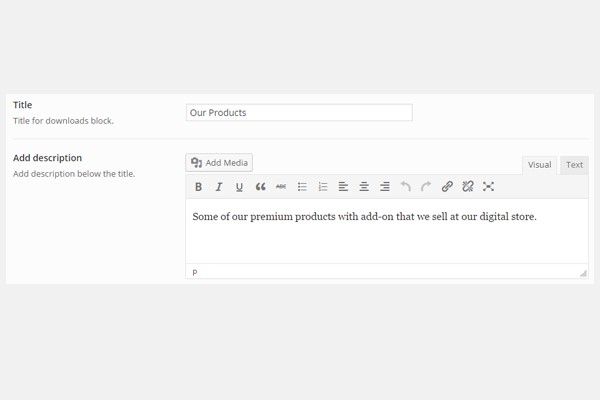
Over here you will only configure two settings i.e. the Title and the Description of this block.
Click Save Changes once you are done. Now let’s find out how to add new downloads next.
Adding a New Download
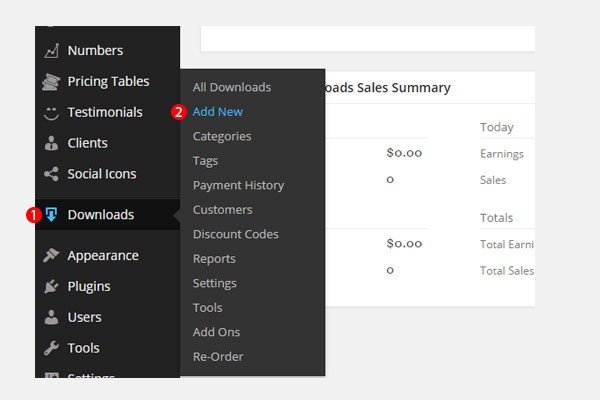
In order to add a new download first visit the dashboard of your WordPress website then look at its side menu. There you will find a section for Downloads. Simply follow this path from here: Downloads > Add New.
In this section you will configure all the corresponding settings which are associated to this process.
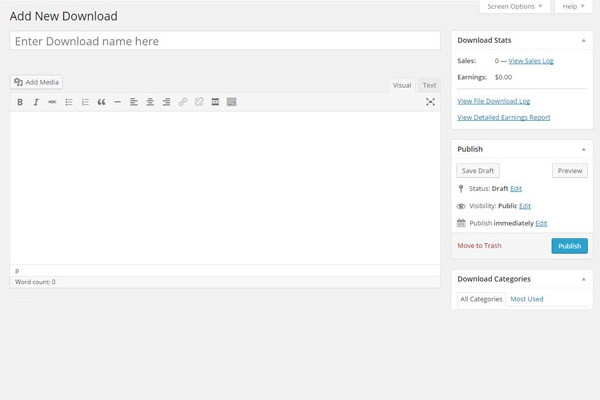
In the end hit on the Publish button to make your product go live.
Download Deals Block
If you want to announce any of your Download Deals then ProductPress do offer a solution for it as well. We have allocated a separate section for this very purpose so that our users may introduce deals on their website. In the “Theme Options” section you will find this part of the theme.
Step 1: Start
Follow this path: Theme Options > Download Deals
Step 2: Download Deals
Here first of all you will find a layout of how these deals will appear on the front-end and below it there are two of the settings. The first will allow you to enter the Number of Downloads which you want to show on your website while the next setting helps to Select EDD Category.
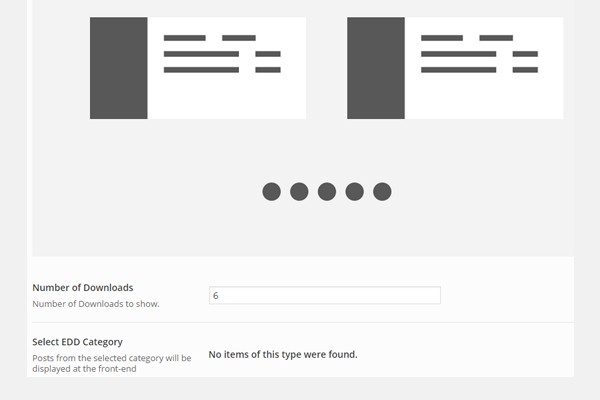
If you look at the Select EDD Category it is showing a message i.e. No items of this type were found. The reason behind this is we haven’t added any EDD category yet. So, let’s find out how this can be done.
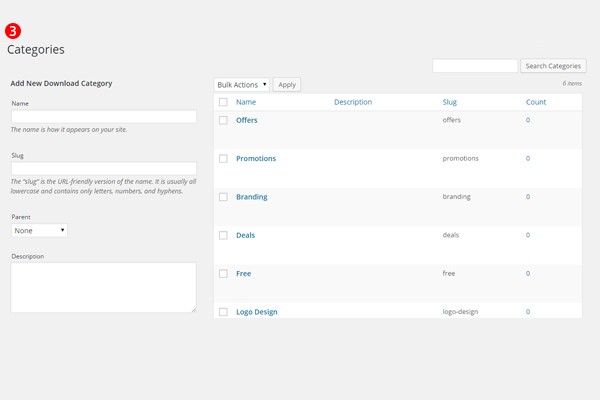
How to create EDD category?
This can be achieved via configuring the settings of Easy Digital Downloads plugin. In your WordPress dashboard look at the side menu where you will find a section for Downloads. Here the EDD developers have added a separate taxonomy for Categories.
Go to Downloads > Categories.

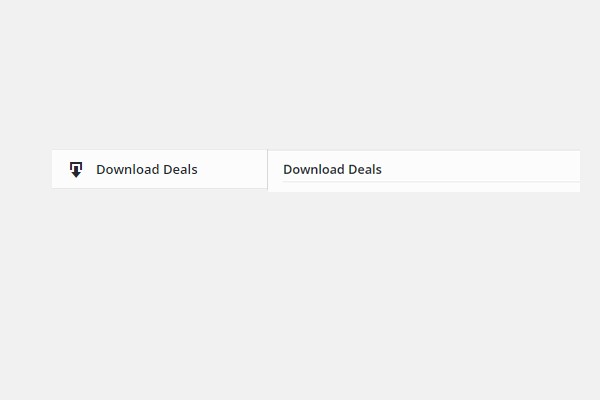
Next we will create some new categories here like the one shown in the figure below.
Then you will create new posts and assign them to the newly created categories. So, go to Downloads > Add New and create new posts and Publish them.
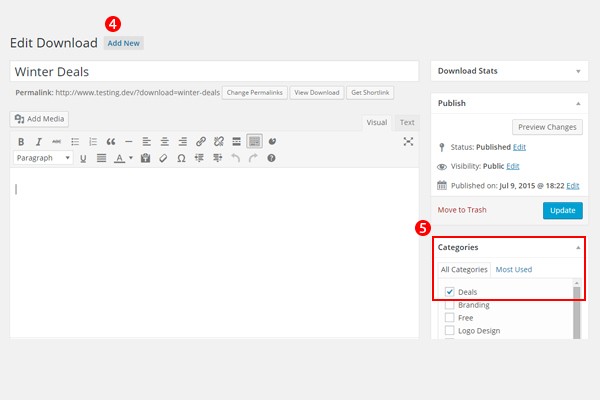
The figure above shows a new download (post) which we’ve created as an example in the Deals category. Similarly, you can created multiple posts.
Now go to Theme Options > Download Deals. This time in the Select EDD Category you will find a drop down list which when clicked display all the relevant category from which you can choose.
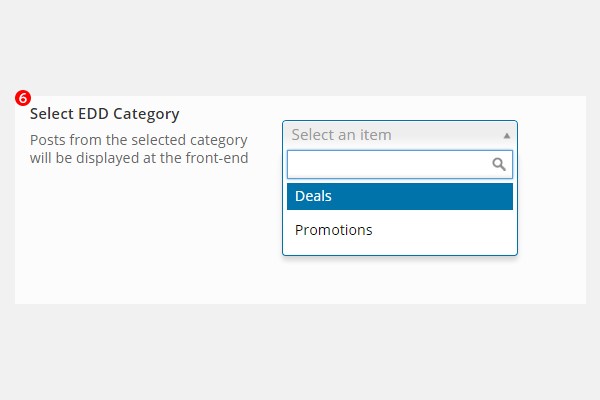
Click Save Changes in the end.
Download Single Block
Each single page for the downloads can be configured separately via the Download Single block. Just go to Theme Options section to access this part.
Step 1: Start
Follow this path: Theme Options > Download Single
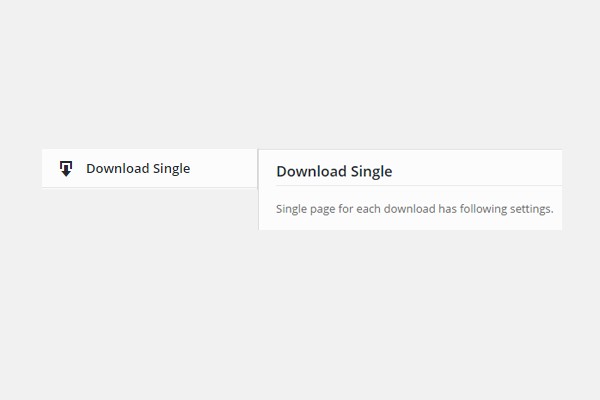
Step 2: Download Single
The only setting which you will configure here is for the appearance of Sidebar on Download Single Page. This is a button whose status is either ON or OFF. The default is set to OFF.
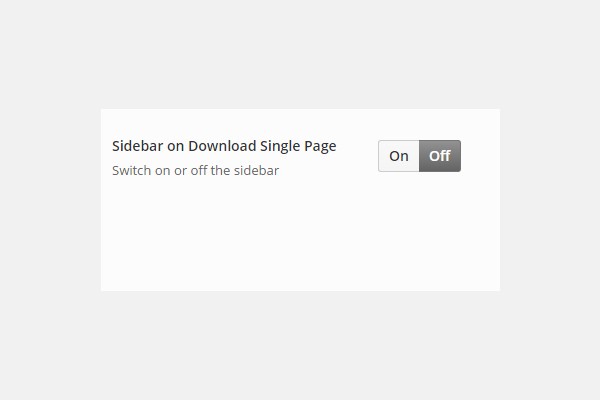
Click Save Changes once you are done.
CTA Block Settings
The Call to Action block in ProductPress allows to add all such words which will perform its function. Click “Theme Options” and you will find the section for this block whose name is displayed as CTA Block.
Step 1: Start
Follow this path: Theme Options > CTA Block

Step 2: CTA Block
Here, you will come across three different options where you will first enter your Button Text, next fill the field for Button URL and in the last add the Call to Action Note Text.

In the end click Save Changes.
Numbers Block Setting
Displaying your product’s stats with numbers is also a feature of ProductPress. You can once again manage the Numbers Block from the “Theme Options” section from the top menu.
Step 1: Start
Follow this path: Theme Options > Numbers
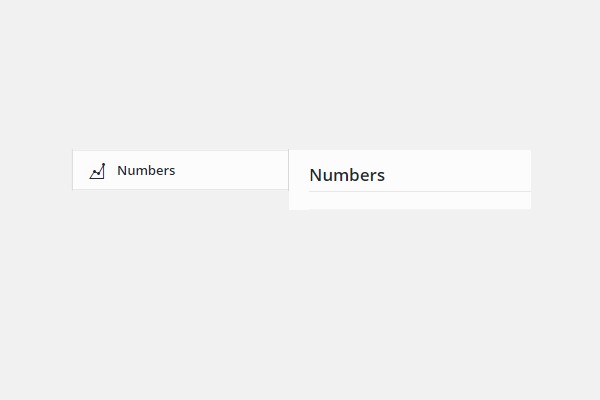
Step 2: Numbers
You can find the layout of this block here below which are the fields for Title & Description. So fill them out accordingly.
Click Save Changes in the end.
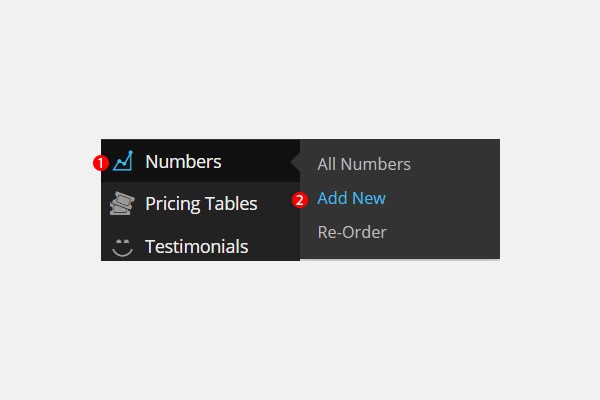
Adding New Numbers
To add new numbers look towards the side menu of your WordPress site’s dashboard. There follow this path: Numbers > Add New.
In case, you do not find this menu then follow the steps below:
- Go to Theme Options > Layout Settings
- Scroll down the page and look at the Disabled blocks
- You will find Numbers block placed here
- Simply drag n drop this block to the Enabled block
- Click Save Changes button
- The menu for Numbers will appear right in the side menu of dashboard
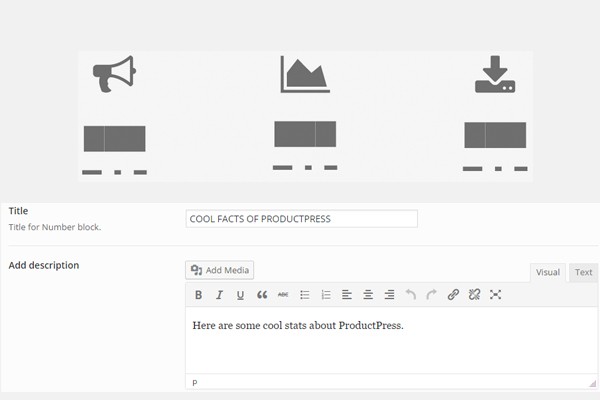
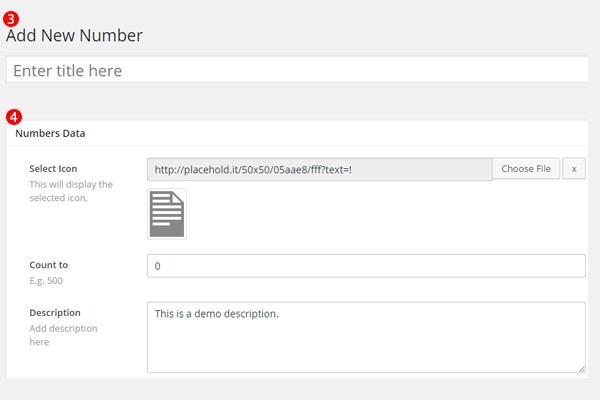
First is the basic step of adding the Title. Next is a meta box for Numbers Data. Over here, Select Icon via a Choose File button. After choosing an appropriate icon fill the field for Count to & Description.
Click Publish to view this number on the front-end. To arrange the format of numbers follow: Numbers > Re-Order.
Pie Block Settings
ProductPress allows you to add beautiful pie charts to display your important stats. To access this part of the theme click “Theme Options” from the top menu and enter the Pie Block.
Step 1: Start
Follow this path: Theme Options > Pie Block
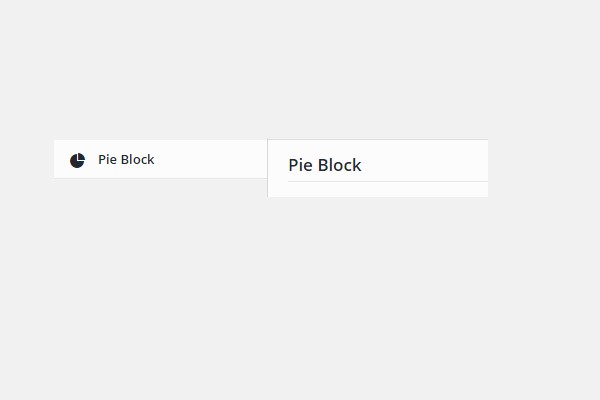
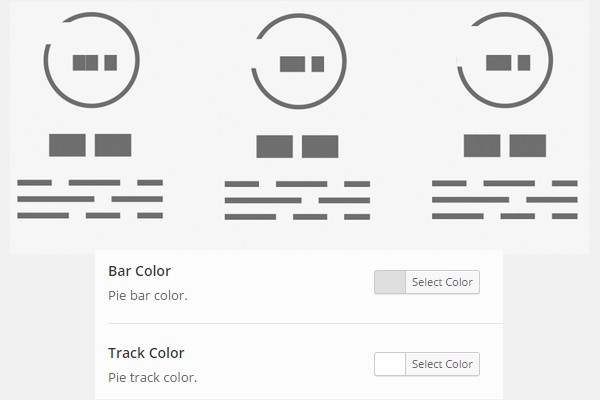
Step 2: Pie Block
Right in the start of this block you will find the layout to describe how this block is represented on the front-end. Below it are two setting options which are for the Bar Color & the Track Color.
Once you are done click Save Changes.
Adding New Pie Charts
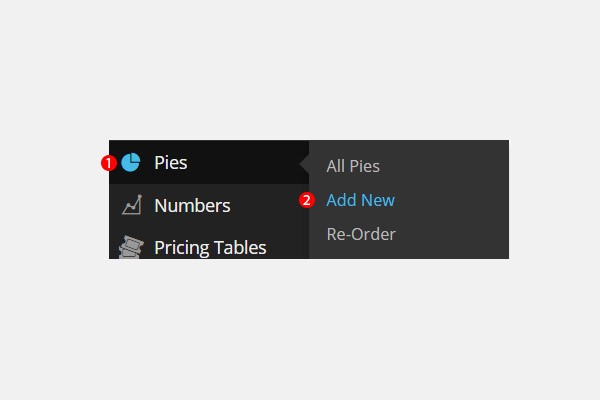
In order to add new pie in this block look at the side menu of your WordPress site’s dashboard and you will find a section for Pies. Follow Pies > Add New.
In case, you do not find this menu then follow the steps below:
- Go to Theme Options > Layout Settings
- Scroll down the page and look at the Disabled blocks
- You will find Pies block placed here
- Simply drag n drop this block to the Enabled block
- Click Save Changes button
- The menu for Pies will appear right in the side menu of dashboard
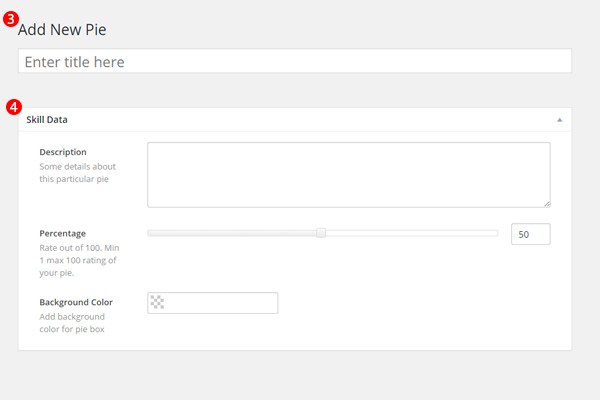
The settings of this section are also very simple. First add the Title and then the Skill Data. Here first you will add Description about your skill after which set your Percentage according to the skill and finally the Background Color.
You will find the option of Re-Order here as well.
Features Block Settings
Once again go to “Theme Options”. Scroll down the page and you will find the block for “Features“. This part of the theme allows you add different features of your product.
Step 1: Start
Follow this path: Theme Options > Features
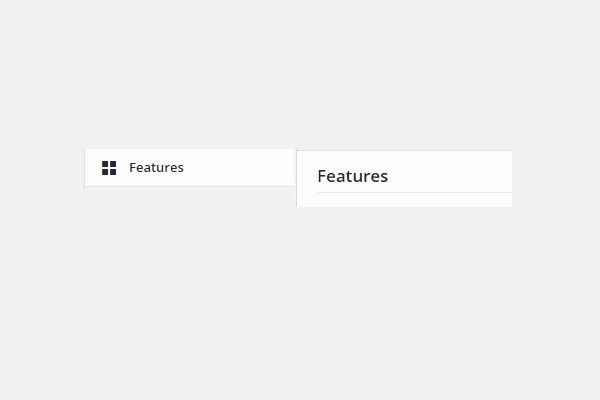
Step 2: Features
Here first of all you will find the layout of the Features block. Below it are the fields of settings which asks you to add a Title for your features block. After which you add a suitable Description.
In the end click Save Changes button.
Adding New Features
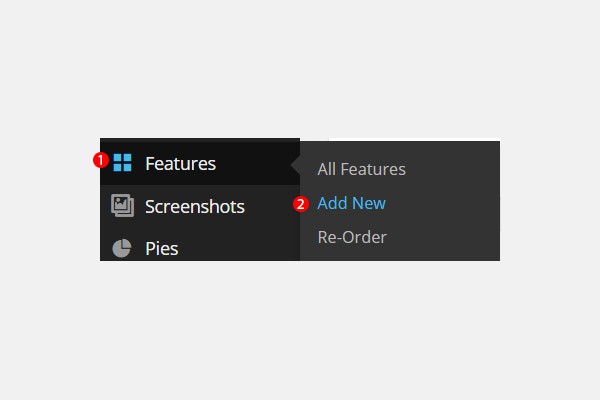
If you want to add new features, then simply look towards the side menu where you will find a separate section for Features. Follow this path: Features > Add New.
In case, you do not find this menu then follow the steps below:
- Go to Theme Options > Layout Settings
- Scroll down the page and look at the Disabled blocks
- You will find Features block placed here
- Simply drag n drop this block to the Enabled block
- Click Save Changes button
- The menu for Features will appear right in the side menu of dashboard
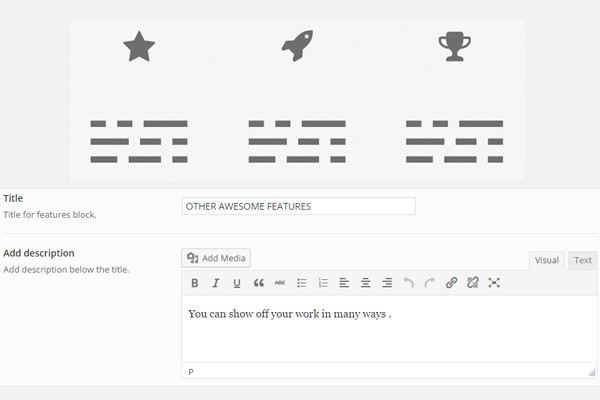
When you will click this you will come across some of the options which need to be configured. So, first of all you will add the Title of your feature. Next you will scroll down to the meta box from where you will configure the settings for the Icon. Here, first you Select Icon. Last, but not the least add a suitable Description.

Click the Publish button to get the newly created feature on the website. Likewise, follow Features > All Features to view your entire set of features. You can also Re-Order your features as well.
Buttons Block Settings
The Buttons Block displays the layout of buttons which you will use in your website. First go to the “Theme Options” from the top menu. Scroll the page and you will find this buttons block.
Step 1: Start
Follow this path: Theme Options > Buttons Block

Step 2: Buttons Block
First of all you find the layout of buttons which explains how these are displayed at the front-end. Then in ProductPress we have developed two options for buttons i.e. Button #1 & Button #2. Each comes with the option Button Text & Button URL which you may configure according to your needs..

In the end click Save Changes.
Testimonials Block Settings
Testimonials from your customers are always appreciated and these play a vital role in increasing your product’s sales. So, the block for managing your “Testimonials” can be configured very easily from the “Theme Options” section.
Step 1: Start
Follow this path: Theme Options > Testimonials
Step 2: Testimonials
Here is the image of its settings where first shown is the layout of Testimonials block and below it is a field for Number of Testimonials which defines how many testimonials will be displayed on the front-end.
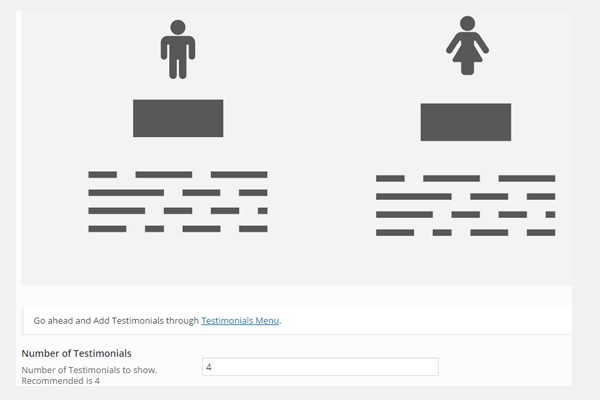
Once you are done click Save Changes button.
Adding New Testimonials
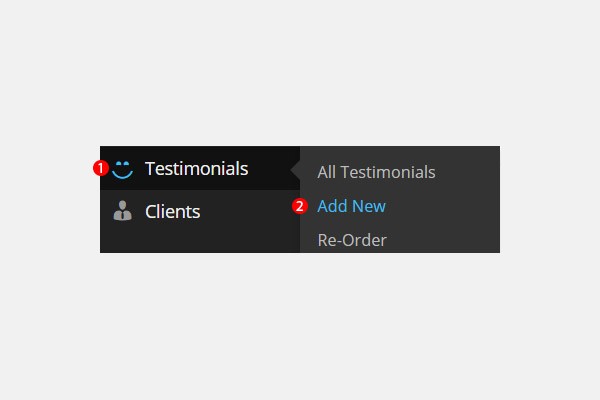
To add new Testimonials in this block follow this path form the side menu of your WordPress website’s dashboard i.e. Testimonials > Add New.
In case, you do not find this menu then follow the steps below:
- Go to Theme Options > Layout Settings
- Scroll down the page and look at the Disabled blocks
- You will find Testimonials block placed here
- Simply drag n drop this block to the Enabled block
- Click Save Changes button
- The menu for Testimonials will appear right in the side menu of dashboard
The settings in this section are again quite easy. First add the Title after which go to the section of User Image. Here, Add User Image by clicking Choose File and finally enter the Testimonial in the text box.

Click Publish to view your client’s testimonial at the front-end. You can also arrange the order by using the option of Re-Order.
Blogs Block Settings
With this block you add different blog posts in your website regarding your product. In order to configure its settings you will have to first go to the “Theme Options” section from the top menu. Here configure the “Blogs Block“.
Step 1: Start
Follow this path: Theme Options > Blogs Block

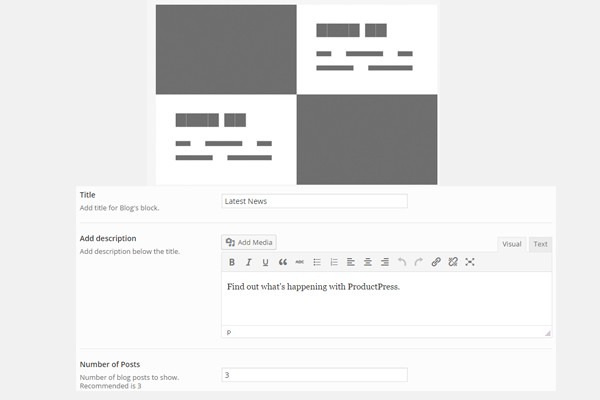
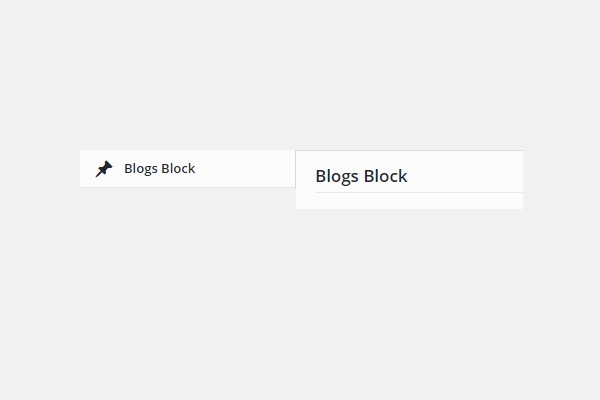
Step 2: Blogs Block
Here are its settings which first include the layout followed by the fields of Title, Description & Number of Posts.
Once you are done click Save Changes.
Adding a New Blog Post
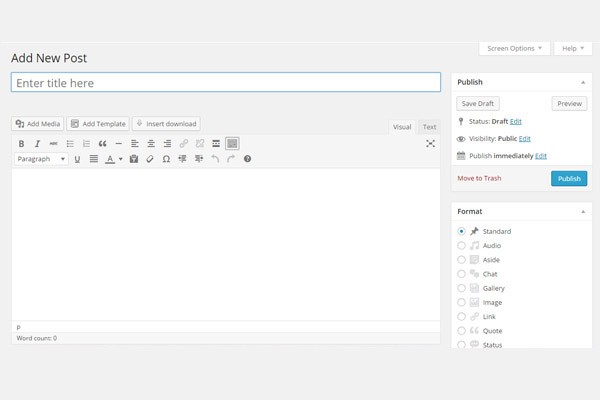
In order to add a new download first visit the dashboard of your WordPress website then look at its side menu. There you will find a section for Posts. Simply follow this path from here: Posts > Add New.

Simply formulate your blog post and click Publish button from the right menu.
Blog Single Block
Just like we have created a separate section to handle the single Download page. In the same way, to manage a single blog post we have allocated a separate section of Blog Single for it. In order to configure its settings go to the “Theme Options” section from the top menu.
Step 1: Start
Follow this path: Theme Options > Blog Single
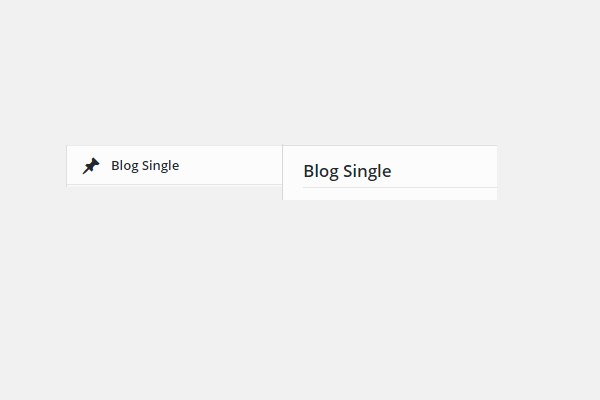
Step 2: Blog Single
The only setting which needs to be configured here is the Sidebar on Single Blog Post. This is a button which will decide whether a sidebar will be displayed on the blog post or not. Initially, this button is turned OFF you can turn it either way as well.

Click Save Changes button once you are done.
Pricing Tables Block Settings
In ProductPress, you will find a complete separate section which allows you to configure the Pricing Tables of your product. This section can be found in the “Theme Options”.
Step 1: Start
Go to your WordPress site’s dashboard and follow this path: Theme Options > Pricing Tables

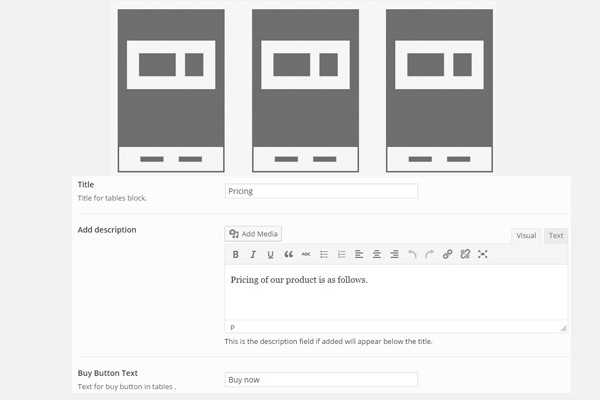
Step 2: Pricing Tables
In this part you will configure the fields of Title, Description & Buy Button Text.
Click Save Changes in the end.
Adding New Pricing Tables
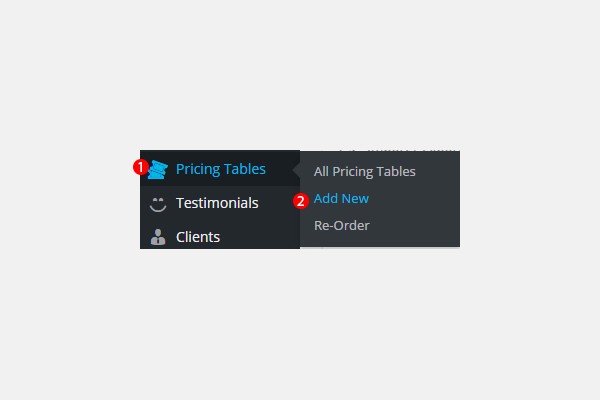
In order to add a new pricing table first visit the dashboard of your WordPress website then look at its side menu. There you will find a section for Pricing Tables.
To add a new table simply follow this path: Pricing Tables > Add New.
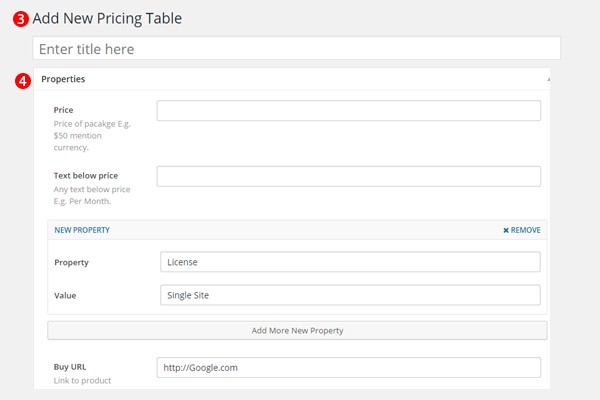
First of all you will add a suitable Title for your pricing table. Below it is a meta box for Properties where you will fill out the fields for Price & Text below price. Next you will fill out the fields of a New Property i.e. Property & Value. If you want to delete this property click Remove button or else to add more properties by clicking Add More New Property button. In the end you are going to add the Buy URL of your product, this is where your user will be redirected once he clicks the buy button of this pricing table.
Likewise, you can view your entire list of Pricing Tables by clicking All Pricing Tables and you can even click Re-Order to decide the sequence.
Clients Block Settings
The Clients block is again managed and configured in the same way where first you will enter the section of “Theme Options” from the top menu.
Step 1: Start
Follow this path: Theme Options > Clients

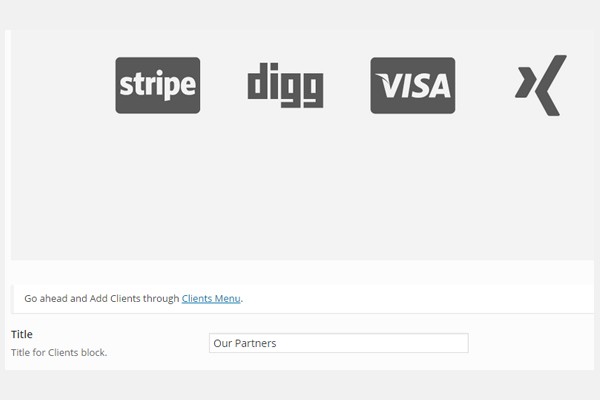
Step 2: Clients
Here the only setting which needs to be configured here is the field of Title.
Click the button of Save Changes in the end.
Adding New Clients
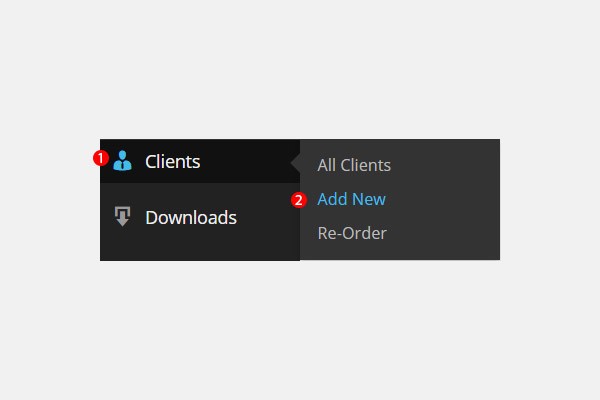
Add new clients in ProductPress can be done by visiting the dashboard of your WordPress website and then from the side menu click this path: Clients > Add New.
In case, you do not find this menu then follow the steps below:
- Go to Theme Options > Layout Settings
- Scroll down the page and look at the Disabled blocks
- You will find Clients block placed here
- Simply drag n drop this block to the Enabled block
- Click Save Changes button
- The menu for Clients will appear right in the side menu of dashboard
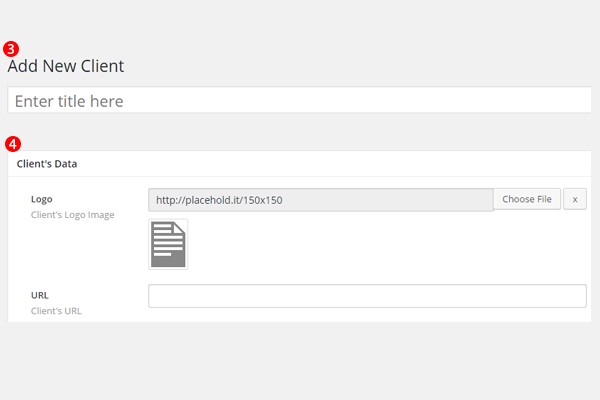
Here first enter the name of the client in the Title field. Next fill out the details for Client’s Data which includes the URL & the Logo. Logo will refer to your client’s image.
Click Publish and view your client on your website. You can again use the Re-Order option to arrange your clients.
Import/Export Block
ProductPress allows you to Import/Export your Redux Framework settings very easily. You can find this option in the section of “Theme Options”> towards the end of the page.

In this part you will find two sections. First is for the Import Options and second is for Export Options.
Import Options
This part is used for importing your data. Two buttons can be seen here i.e. Import from File and Import from URL. Click any of these to get your required information.

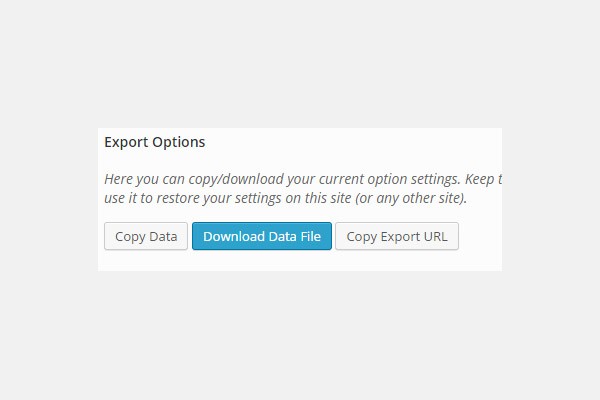
Export Options
Likewise, you can also export your current settings through this part. You can again find three different buttons i.e. Copy Data, Download Data File & Copy Export URL. Click any of these to get your desired results.